Mailchimp is the All-In-One integrated marketing platform for small businesses, to grow your business on your terms. It’s free for your first 2000 subscribers, it enables you to use it’s automation functions for signs and sending welcome emails. It integrates with your website.
Some of the functions Mailchimp offers are:
• Sending Newsletter Campaigns
• Creating Automation Workflows
• Creating Landing Pages
• Creating Websites
• Posting to Social Media
It integrates with wordpress, zapier, slack and canva. And 300+ others.
It provides reporting analytics to enable you to enhance your campaigns.
You can sign up here.
Getting Started
Thing you’ll need in order to get started:
- As Mailchimp is a web-based application. You will need to have an internet browser.
- You’ll need to provide an email address that will be associated with the account you’re setting up. As you’ll need to verify and confirm your account and URL.
- Your Mailchimp username must be unique, and cannot be reused.
- You will need to provide a mailing address, I would recommend using a PO Box for security purposes especially if you do not operate your business from a physical premises.
- All accounts start on our Free plan, so you don’t need a credit card to sign up.
- If you choose to purchase add-ons or upgrade to a paid plan, you will be able to pay these via credit card or paypal.
Sign up for an account
Click here to sign up. It’s important to note that when you sign up you are agreeing to terms of use and anti-spam regulations.
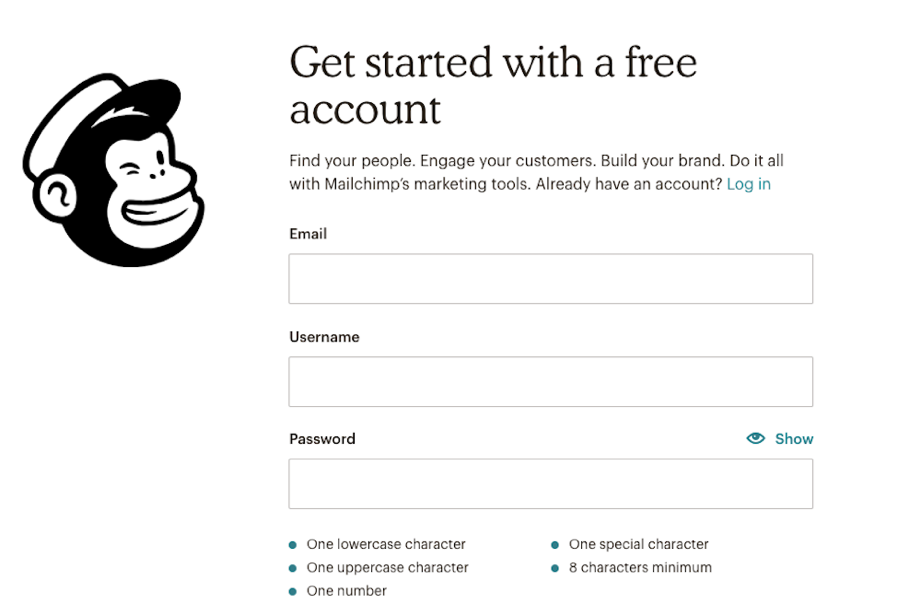
Type in your Email, Username, and Password, and click Get Started!
A confirmation message will appear advising you to check your inbox to activate your account set up .

Activate your account
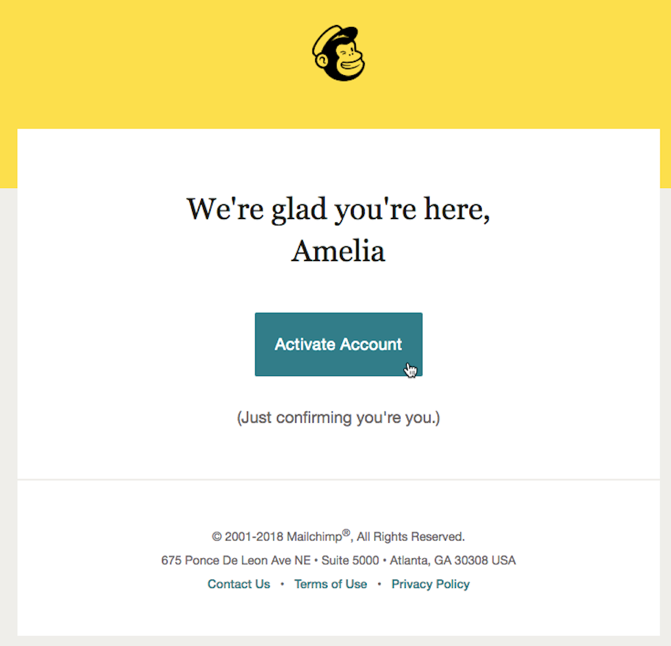
When you receive your account activation email from Mailchimp Client Services, you can complete the account setup.
Click the account activation link in the email.

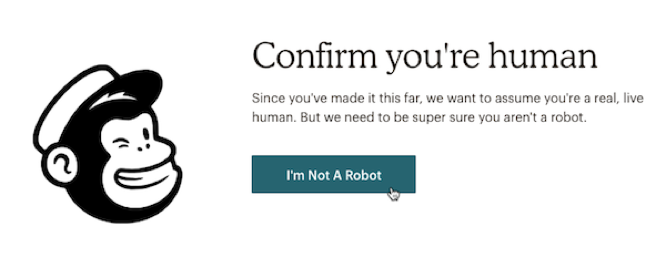
You will need to confirm Humanity screen, check the I’m not a robot box, and click Confirm Signup.

Sign up for an account
Click here to sign up. It’s important to note that when you sign up you are agreeing to terms of use and anti-spam regulations.
Type in your Email, Username, and Password, and click Get Started!
A confirmation message will appear advising you to check your inbox to activate your account set up .
Activate your account
When you receive your account activation email from Mailchimp Client Services, you can complete the account setup.
Click the account activation link in the email.
You will need to confirm Humanity screen, check the I’m not a robot box, and click Confirm Signup.
The signup process
In setting up, Mailchimp will ask for required information. This information enables them to provide content that is relevant to you and your company’s needs, as well as to help make sure your account is compliant with our Terms of Use. In this section, you’ll learn how we use this information.
- Name
- Email Address
- Organisation Questions
- Organisation Name
- Website URL
- Physical Address
After you type in the information, follow the prompts to finish the process and log into your new Mailchimp account.
To busy to be doing all this yourself, then why not have your Mailchimp Partner assist you. Simply click here.


