Here are your step by step instructions on creating an email campaign/newsletter in Mailchimp.
Firstly, log into your account.
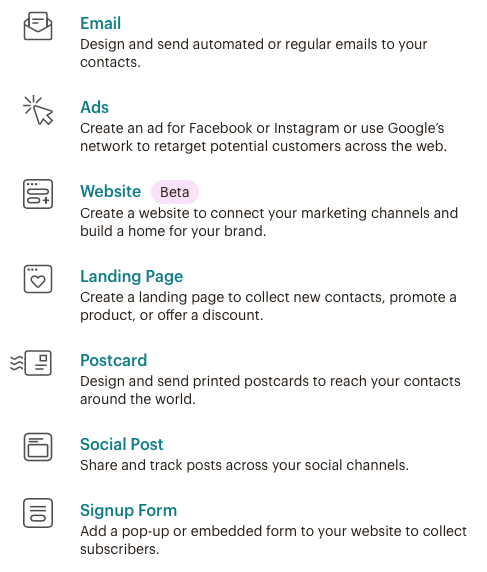
Click on CREATE on the top menu
Click on EMAIL in the dropdown menu
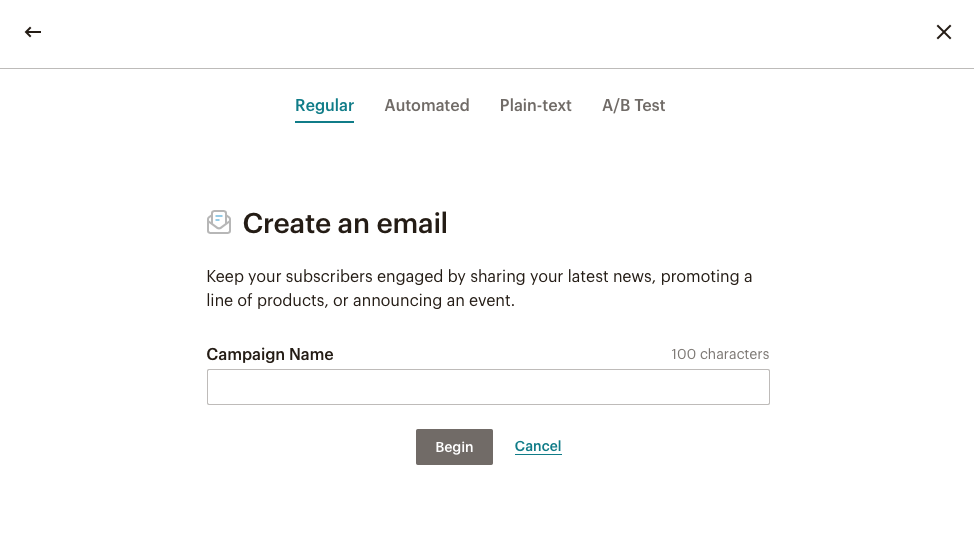
If you are sending a one off email to your mailing list, you want to select REGULAR.
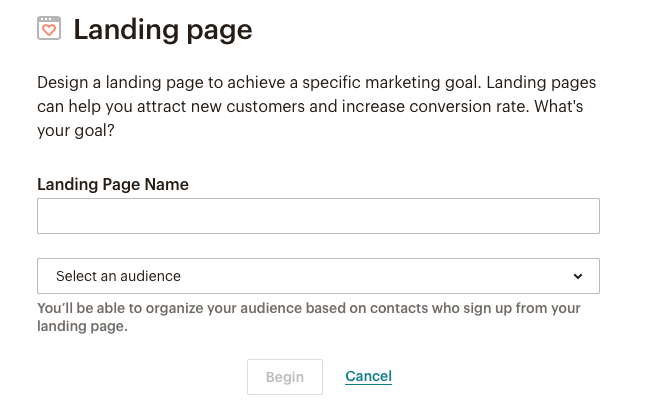
NAME your campaign, and click BEGIN
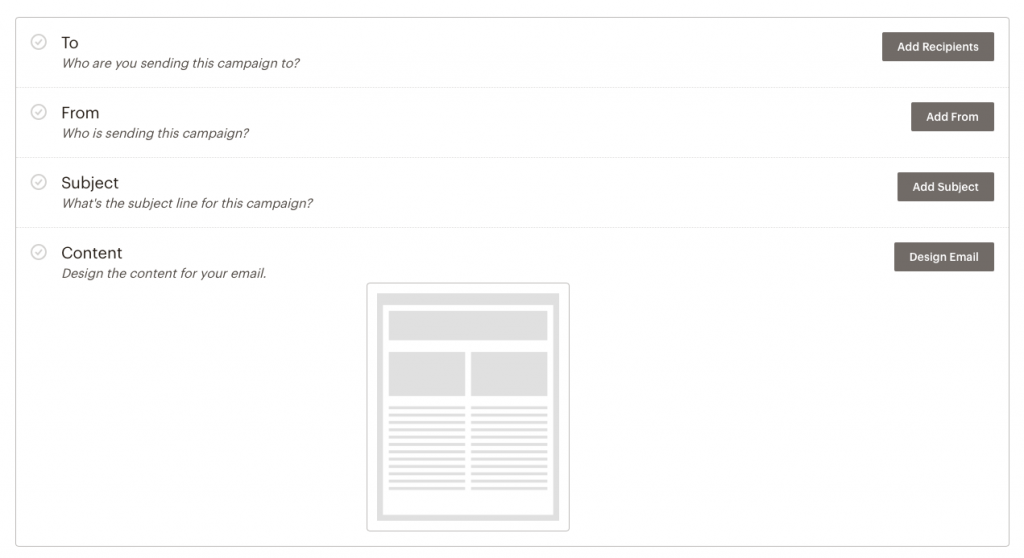
Click on TO, and select your list you’re emailing.
Click on FROM, and enter your details (email and name)
Click on SUBJECT, and enter your email subject.
Click on CONTENT and design your newsletter.
To design your newsletter
Select a template
Choose a template in the Content section of the Campaign Builder. The template you select will be the foundation of your design.
To select a template, follow these steps.
In the Content section of the Campaign Builder, click Design Email.
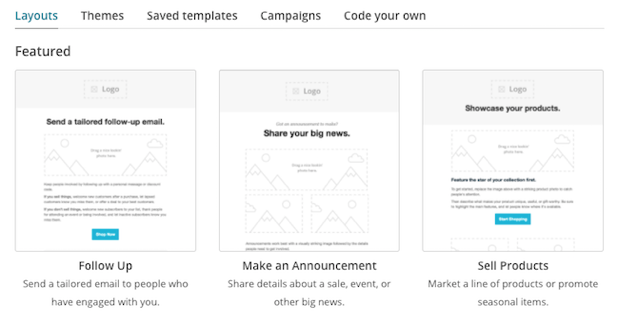
On the Template step, click the template you want to use. You can always go back later to switch templates.
Choose from Layouts (Featured and Basic), Themes, Saved templates, Campaigns, or Code your own to begin to design your campaign.
Add your content
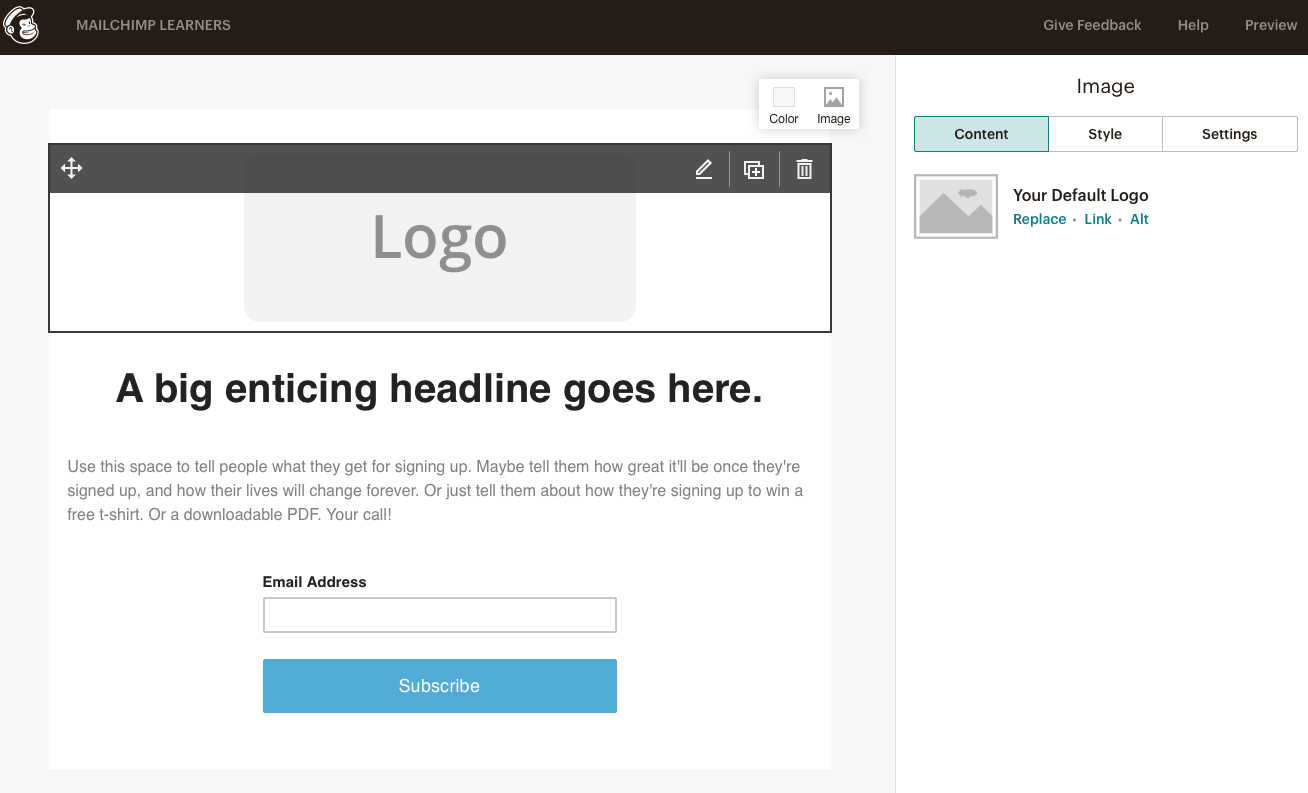
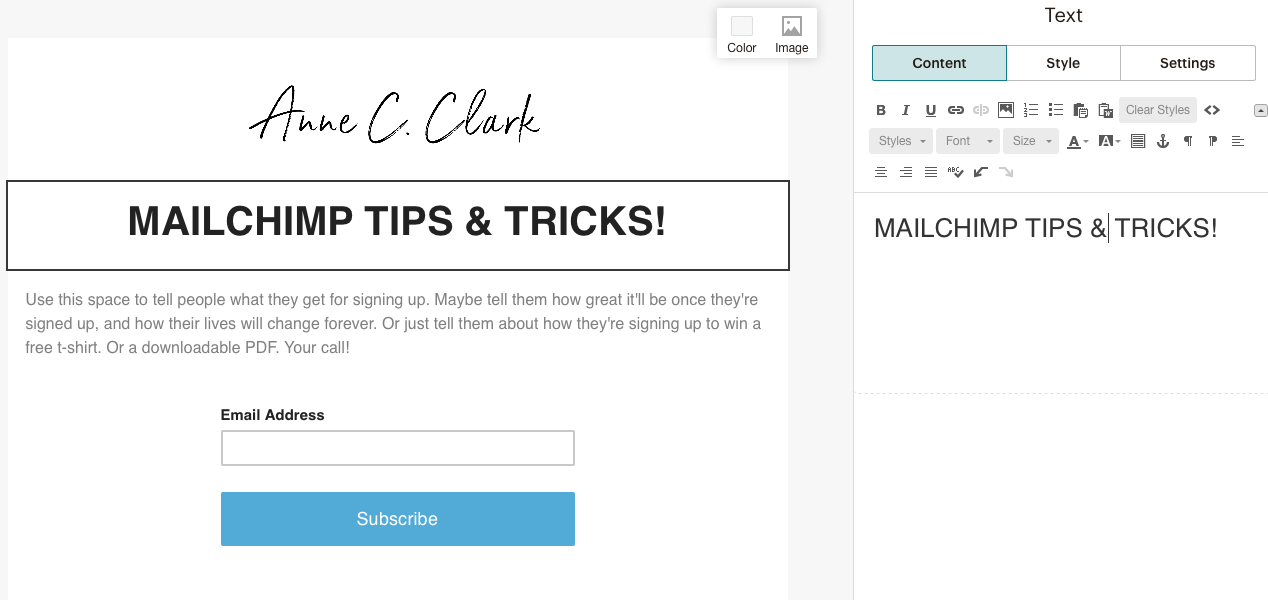
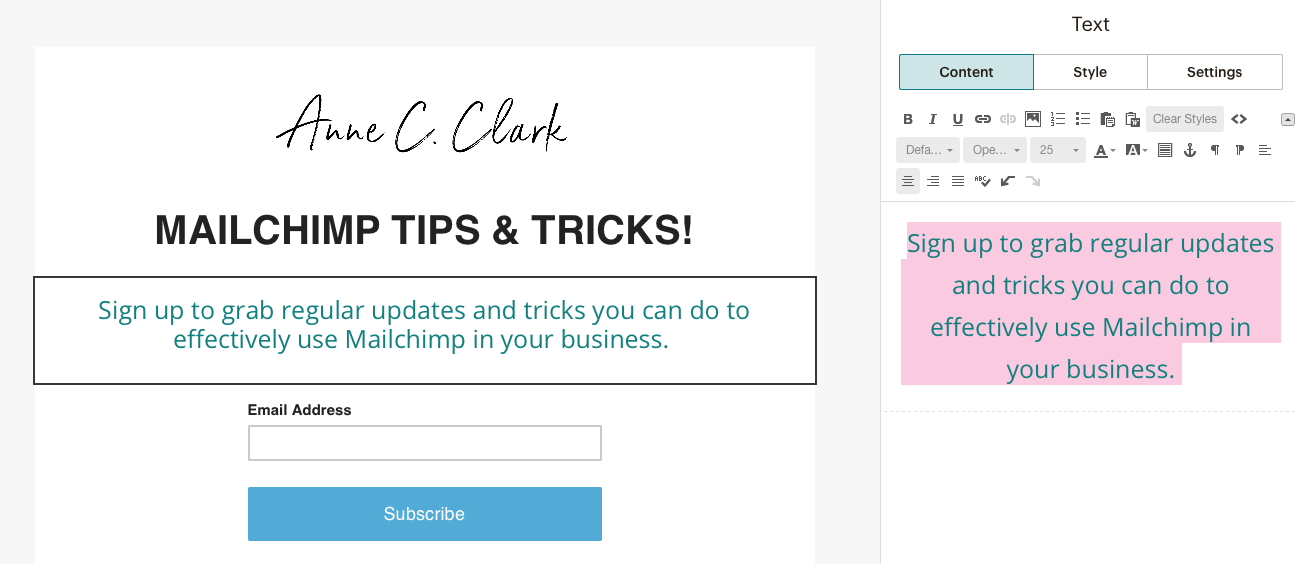
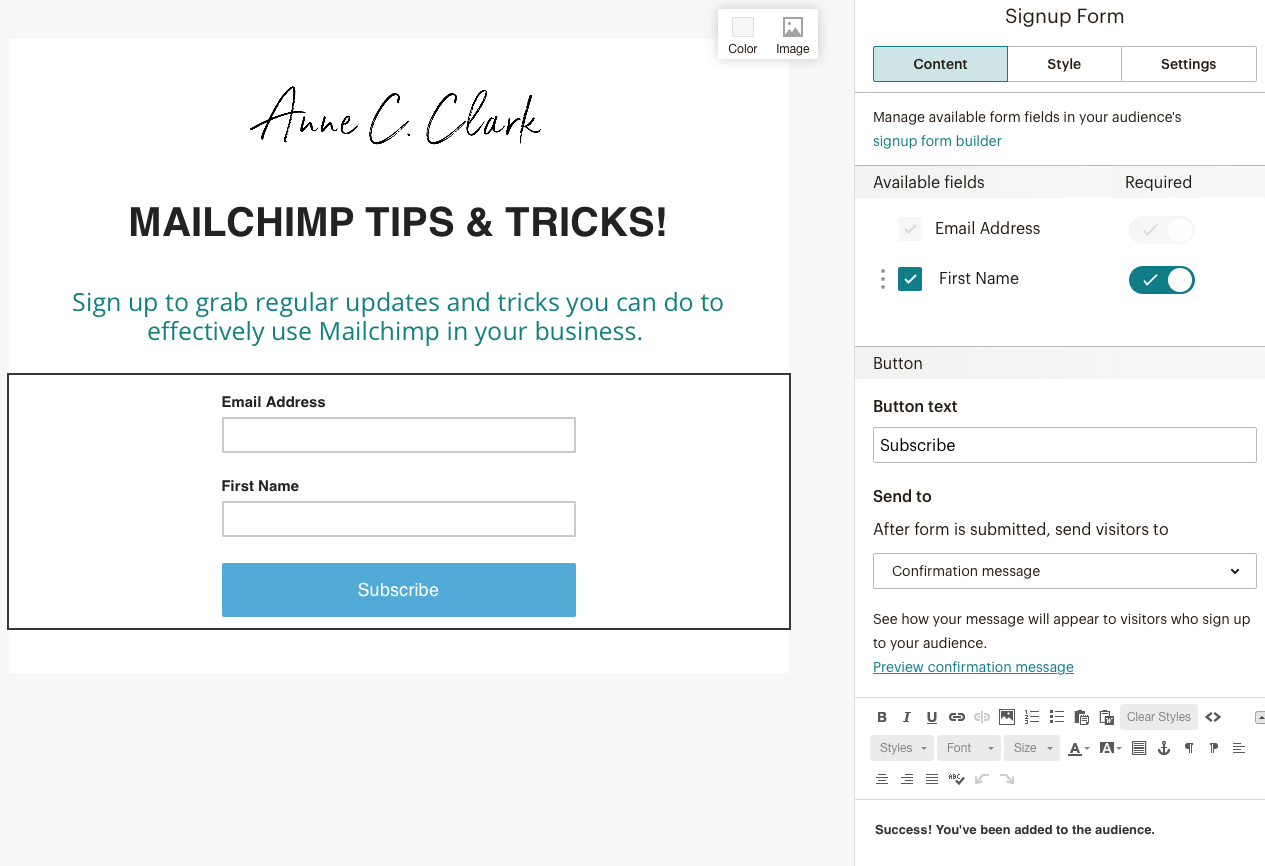
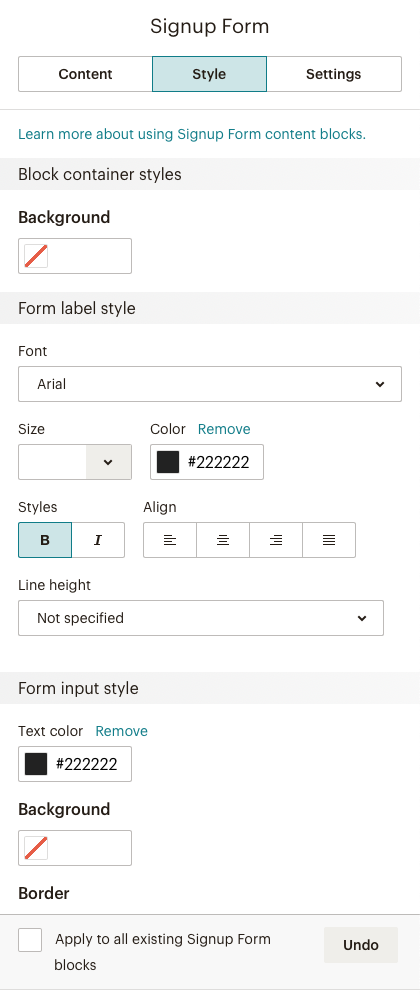
After you choose a template, you’ll move on to the Design step of the Content section. Use content blocks to add and format text, upload images, link to files, and more. All templates show placeholder text and images to help you begin to design your campaign. Depending on the template you choose, you can add, delete, move, and replicate content blocks to create the look and feel you want.
Drag and drop content blocks
Our drag-and-drop editor allows you to duplicate, delete, and rearrange content blocks. Drag and drop a variety of content blocks into your layout and rearrange them to customize the look and feel of your campaign.
Add text
The best way to add text to your campaign is to type it directly into the content block editing pane. If you prefer to work outside of the campaign builder, copy and paste your content from a simple text editor, like Notepad or TextWrangler.
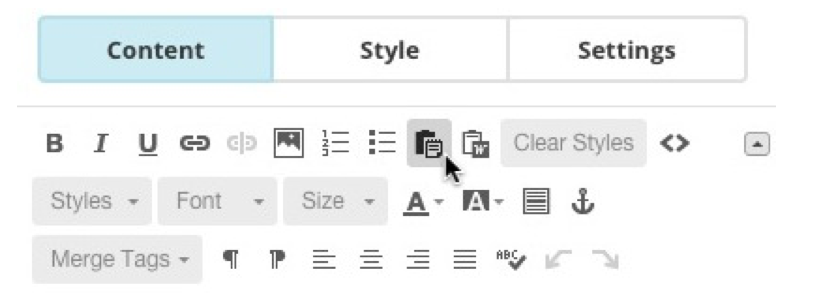
Avoid rich-text word-processing programs, like Word or Publisher. They add styling code to the text that can prevent your ability to style content in the campaign builder.If you want to copy content from a rich-text editor, website, or email program, click the Paste as plain text icon on the editor toolbar to add your text.
If content has already been added to your campaign and you didn’t use the Paste as plain text option, or if content doesn’t update when you apply styling to your text, click Clear Styles and try again.
For those who are setting up websites using Squarespace but struggling on how to link it to the Mailchimp account. Here are some instruction to help you confidently link them.
#1. Log into your Squarespace Account
#2. Go to the page you want to add your sign up bar in
#3. Edit your page
#4. Click the right ‘+’ icon the top right hand side
#5. Scroll down to the MORE section
#6. Click on Newsletter icon and drag it to where you want to add it
#7. Enter in your display details
#8. Click on the second tab Storage. You will the platforms you can connect to. If you can’t click the plug icon on the squarespace campaign and the others should appear.
#9. Click Mailchimp, and link your website to your Mailchimp account my login into Mailchimp as the prompts come up on screen.
#10. Select your list and connect the corresponding fields.
#11. Repeat the above for everywhere you want to add the form on your website.
If you don’t feel confident doing this yourself, then please connect with me and I can assist you.
Want to earn some email credits on your MailChimp account? MailChimp has a rewards called MonkeyRewards. Here are is How to earn rewards with your MailChimp account;
Newsletter Campaigns
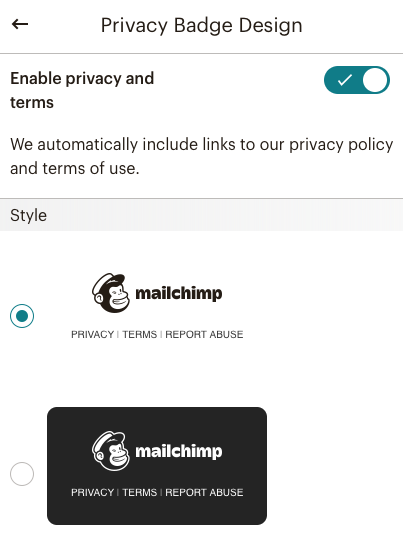
You will have seen at the bottom of some emails, the MailChimp logo. You can set up your account to activate this as a rewards icon.
“MonkeyRewards let you earn email credits for referring new paying customers to MailChimp. You can select the default design of your badge and also choose different badge designs for your signup forms and email campaigns. If you have a Monthly or Pay As You Go account, you can remove the badge from individual campaigns or forms, or you can disable the MonkeyRewards badge for the whole account.”
To set your MailChimp badget as a default you need to do the following steps:
Click the profile name to open the Account Panel, and select Account.
Click the Extras drop-down menu and select Rewards.
Make sure the Show badge in campaigns box is checked.
Under the Select your MonkeyRewards badges heading, click the Change link to choose a badge.
Click the badge you want to use and the screen will refresh, leaving the new badge visible on the page.
Your Email Campaign Badge
Wherever the *|REWARDS|* appears in your email campaign, we replace it with the default MonkeyRewards badge that is selected in your Rewards settings. The default footers in Basic and Themes templates already have this merge tag included.
If you’d like to change how the badge appears on a specific campaign, follow these steps:
If you’d rather use a text link in your email campaigns or add MonkeyRewards on your site, follow the instructions below to grab a text or image link that you can use.
Click your profile name to open the Account Panel, and click Account.
Click the Extras drop-down menu and choose Rewards.
Under the Link embed code, copy the Text link or Image link information and right-click to paste it into your website.
You do have the option to remove this off your campaigns or disable it all together.
This website uses cookies to improve your experience. We'll assume you're ok with this, but you can opt-out if you wish. Cookie settingsACCEPT
Privacy & Cookies Policy
Privacy Overview
This website uses cookies to improve your experience while you navigate through the website. Out of these cookies, the cookies that are categorized as necessary are stored on your browser as they are essential for the working of basic functionalities of the website. We also use third-party cookies that help us analyze and understand how you use this website. These cookies will be stored in your browser only with your consent. You also have the option to opt-out of these cookies. But opting out of some of these cookies may have an effect on your browsing experience.
Necessary cookies are absolutely essential for the website to function properly. This category only includes cookies that ensures basic functionalities and security features of the website. These cookies do not store any personal information.
Any cookies that may not be particularly necessary for the website to function and is used specifically to collect user personal data via analytics, ads, other embedded contents are termed as non-necessary cookies. It is mandatory to procure user consent prior to running these cookies on your website.